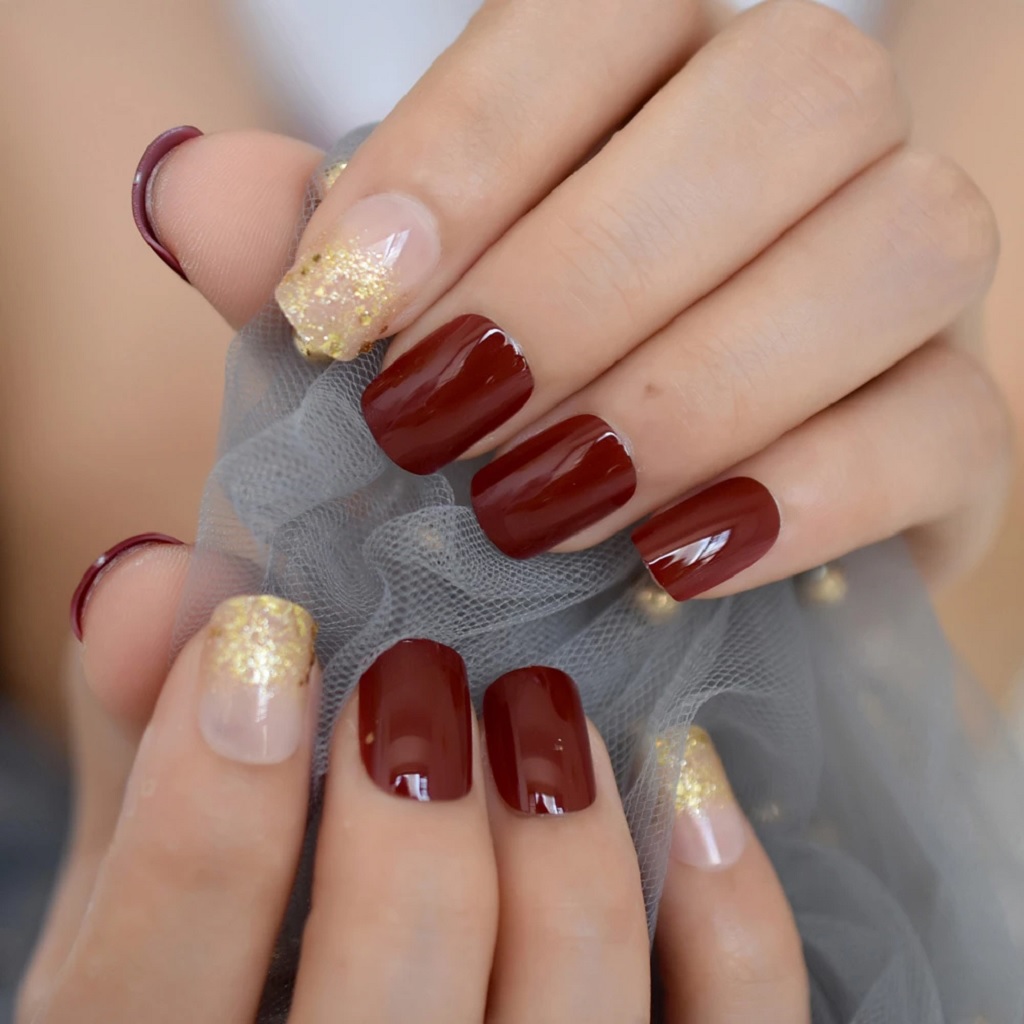
There are so many acrylic nail brands available in the market. Most people who fail to choose the right acrylic nails for themselves think they have to go to experts to get their nails done. You might not know it, but it’s 100% possible to get amazing acrylic nails at your home the DIY way.

You don’t have to spend a lot of money to get acrylic nails. If you buy the right kit for getting acrylic nails and follow the seven tips mentioned below, you can get acrylic nails yourself even if you have never done it before – let’s dive in!
The 7 Step Guide for Getting the Best Nail Acrylic
Proper Prep of Your Beautiful Nails
The first thing you have to do is get your nails ready to apply nails. In this process, you have to take care of three things: Getting rid of old nail polish, taking care of the cuticles, buffing your nails the right way.
The first step is easy to follow if you have ever done a manicure before. You have to carefully remove any old nail paint from your nails. If you have applied gel paint on your nails, clear the gel paint first before applying the acrylic nails.
You also have to prepare your cuticles before applying acrylic. Push your cuticles back gently, and don’t cut the cuticles. Clip your nails short, so it gets easier for you to put the acrylic nails. Filing your nails is also important as it will make it easier for acrylic nails to get placed on your nails.
Use the Acrylic Nail Glue Carefully
The acrylic glue will make the acrylic nails sit on your nails. You only have to use a dot of acrylic glue as it’s enough to put acrylic nails on top of your natural nails. Remember that the glue might prove harmful for your nails if you don’t place it the right way.
Only use the acrylic glue once you pick the right acrylic nails. If you have bought an all-in-one kit, it will be easy for you to put the best nail acrylic. So you should choose your nails with proper care. Once you have chosen acrylic nails and put a dot of glue, press the nail for ten seconds to make the acrylic nails grip properly.
Shape Your Nails the Right Way
Once you have applied the acrylic nails, you don’t have to call it a day. There’s still a lot to ensure that your acrylic nails look amazing. You will have to cut and file your nails to give them a perfect look.
The filing process will not be difficult for you if you’ve done it before. However, if you find the filing process hard for yourself, you should watch some videos online to get the right idea.
Get Help with Dehydrating Nail Primer
You have to get rid of the moisture from your nails to make the acrylic nails sit nicely on your nails. Extra moisture won’t allow the acrylic mixture to sit on your nails. The presence of moisture can ruin the look of your nails. The good news is that you don’t have to make a lot of effort to get rid of extra moisture.
Dehydrating nail primers will take care of the moisture. Remember that working with acrylics will get hard if you are not habitual of enduring strong fumes, so let them go out by opening your windows.
Apply the Acrylic Mixture
The next thing you have to do is pick up the acrylic brush. All you have to do is dip the brush in the monomer. A common mistake people make when using monomers is they oversaturate the brush. You can dip the sides of the brush to ensure that you don’t overload your acrylic brush.
Once you follow the process mentioned above, you will end up with a nice bead of the acrylic mixture. This mixture will be easier to apply to your nails. Start the application process from the cuticle of your nails, then put the mixture on the tip of the acrylic nails. A simple tip that can make the whole process easier for you is wiping the brush with a paper towel. Doing so will ensure that you don’t have clumps on your nails.
Let It Sit Properly
Remember that you have to give some time to the acrylic mixture to set properly. You don’t want to end up with nails that chip off easily. The acrylic mixture is temperature-sensitive, and it will sit easily if the room temperature is a bit higher. It’s recommended that beginners let the mixture sit naturally for 10-15 minutes to ensure that you get the perfect look.
The Final Shaping Process
Shaping is the last thing you have to do to complete the application of nails. Work on the edges of your nails carefully. You can remove the topcoat of the acrylic mixture with an e-file. You can soak a cotton pad in Acetone and wrap it around your nails for 10 minutes to remove the extra acrylic mixture. Don’t rush through the shaping process, as it can ruin the final look.
Conclusion
Acrylic nail powder are easy to get done at home. Ensure you don’t get hasty when following the processes, as it will destroy the looks. If you follow the tips mentioned above, you will be able to get the perfect look at your home.