Every time you paint your nails with regular nail polish, you see it starts chipping after some hours or a day or so. The old formula nail polishes are not meant to provide your nails a better coverage for week after week.
But, lately, with the rising cult of the nail industry, you are given more choices for painting your nails. Among the most trending nail techniques and the latest nail formulas, you can get your nail painted with a gel nail color. Gel nail colors are stronger, make your nails healthier, and never cause chipping as compared to classical nail colors. OPI has made its name by introducing an array of gel nail colors. OPI gel nail polish colors are popular among nail enthusiasts and nail technicians for creating a perfect manicuring look for up to two weeks.
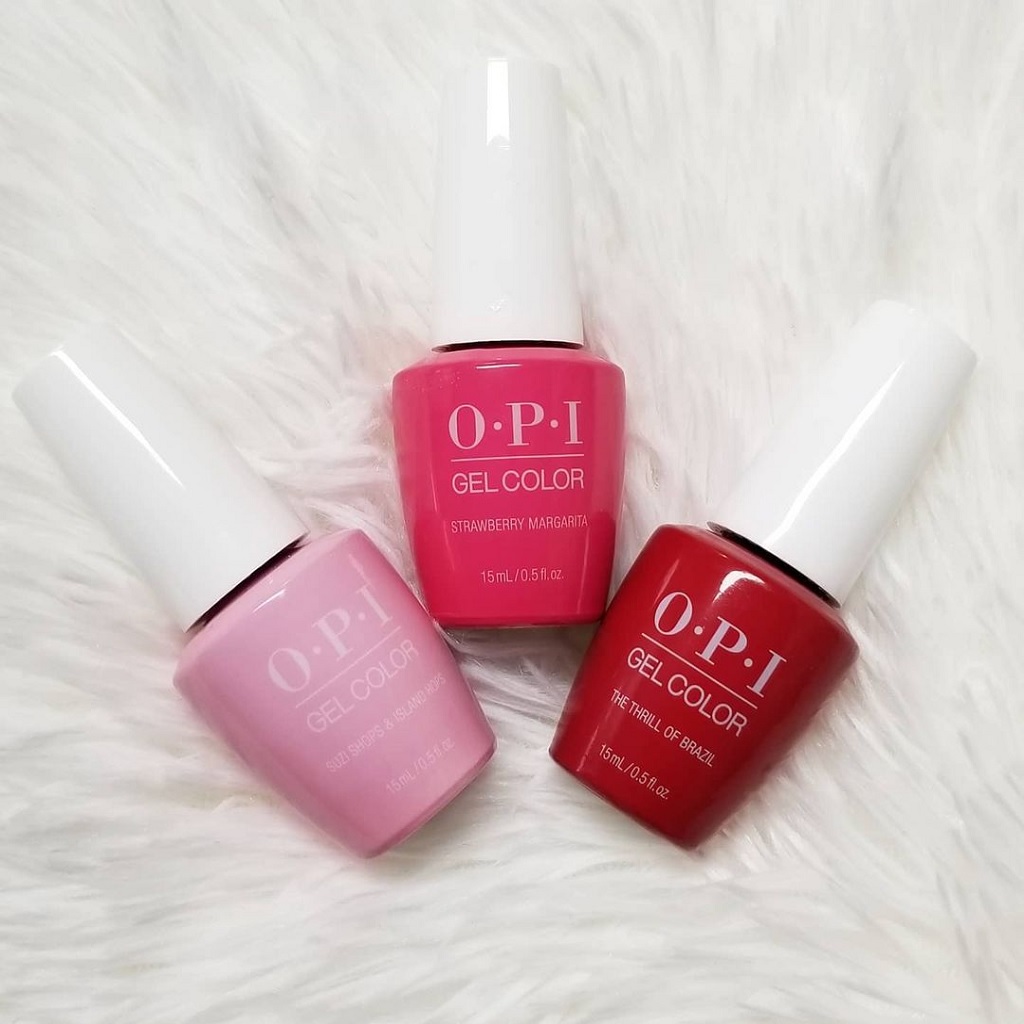
Having a perfect salon-like manicure at home by using gel nail color is intimidating since you are not a nail technician. But once in a while, you might have probably tried to DIY your nails. Haven’t you? And what were the results? The flaky and smudged nails? Well, this is so because you don’t know how to use gel nail colors. There is a proper technique involved for applying gel nail colors.
So through this piece, we have guided you on how to apply OPI gel nail colors all by yourself without hiring the services of an expert nail technician.
Keep scrolling down:
Step-by-step guide for applying OPI gel nail colors
The first thing comes first. Rest assured that you have prepared your nails for wearing an OPI gel nail color manicure. If not, then simply go for the following steps:
Preparing nails for gel nail color manicure
Wash your hands
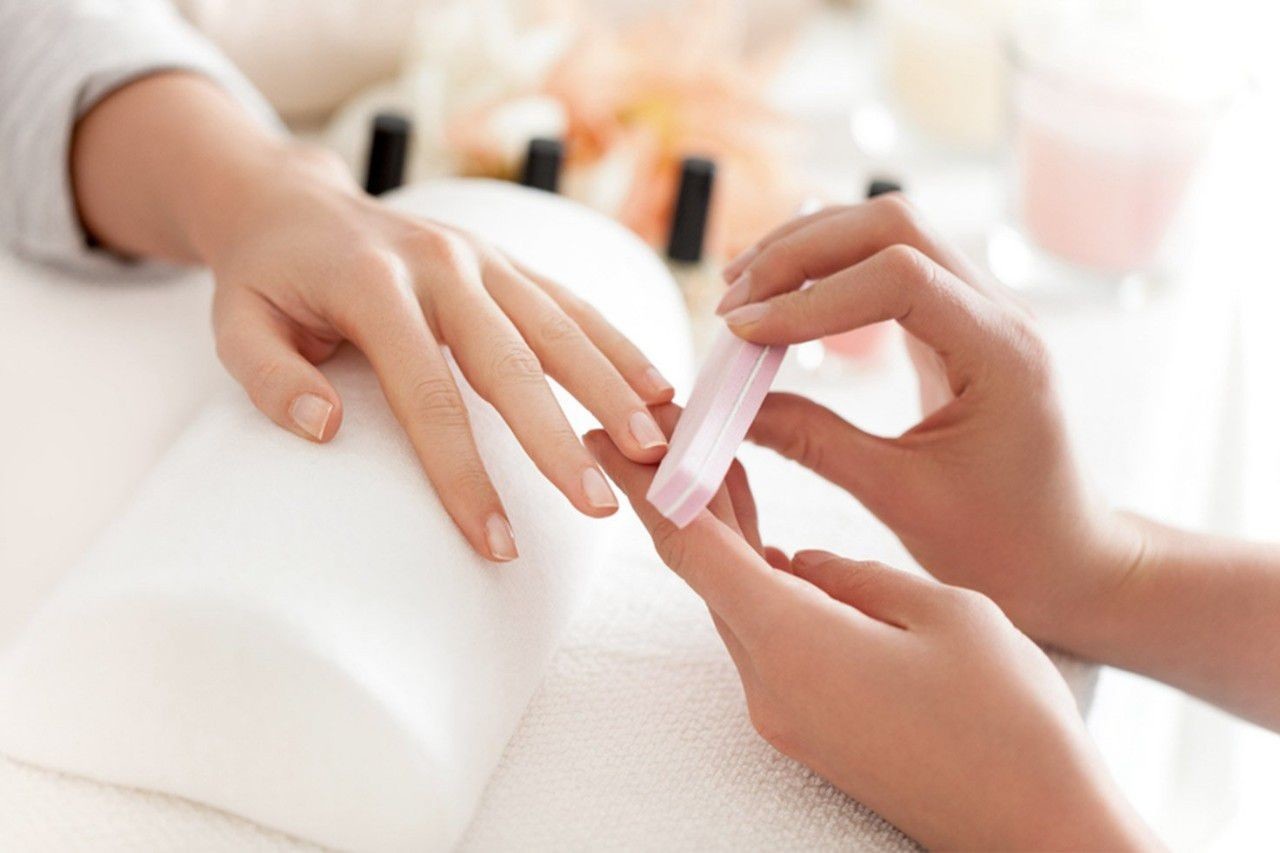
File your nails to give them the desired shape (more…)

